[스프링 부트] View 환경설정, 빌드 후 실행 - 스프링 입문 / 인프런
View 환경설정
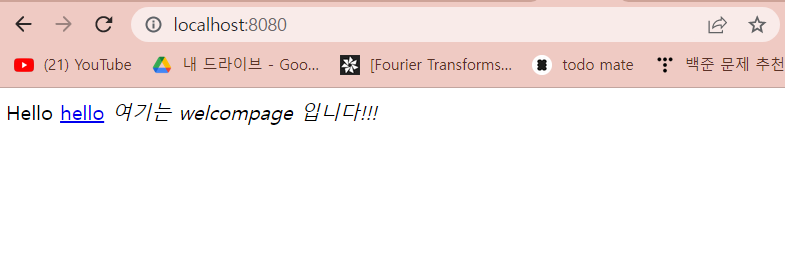
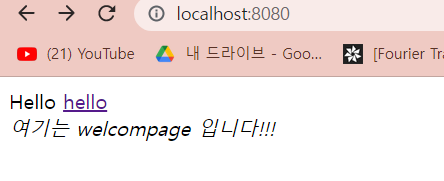
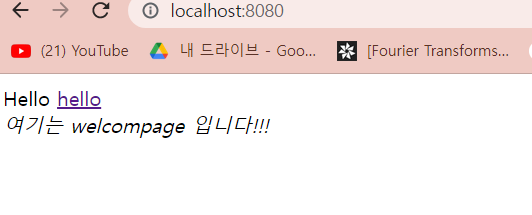
Welcome page 생성
생성 경로
src > main > resources > static > index.html 생성
👉 index.html == welcome page
Spring Boot Feature (manual) : 필요에 따라 검색할 줄 알아야 함
Spring Boot Features
Graceful shutdown is supported with all four embedded web servers (Jetty, Reactor Netty, Tomcat, and Undertow) and with both reactive and Servlet-based web applications. It occurs as part of closing the application context and is performed in the earliest
docs.spring.io
Template engine ( ex. thymeleaf )
- welcome page를 동적 페이지로 바꿀 수 있음.
- Freemarker, Mustache, Thymeleaf, Groovy
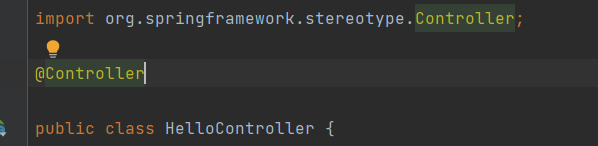
Controller
- Web Application에서 첫 번째 진입점
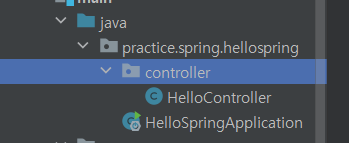
- hellospring >> controller 패키지 생성 >> HelloController 클래스 생성
- 상단에 @Controller 필수!
- springframework 라이브러리에서 Model을 import 해줌
- attributeName = key, attributeValue = value로 hello.html에서 사용
- data로 검색하면 hello!란 값을 사용함
model
- 웹페이지에서 쓰는 인벤토리 개념. (웹페이지에서 사용할 정보를 담아서 넘기는 그릇)
GetMapping
get
- html에서 form 작성 시 입력값 받아오는 method인 get과 동일 → 입력받은 값이 "hello"일때 대응 값 mapping
(== "/hello" url에 매칭 시켜주기)
- Hello Controller의 method(hello) 실행 (스프링이 model을 생성해 인자로 넣어 줌)
→ model의 attribute 더하기 (key:value = attributeName:attributeValue)
return "hello" → templates 하단에 html 페이지 이름과 동일 == hello.html로 찾아가서 랜더링해라 (hello.html을 실행해라)


- ${data(→key)} --> hello!!(→value) 로 치환되어 출력
작동 원리
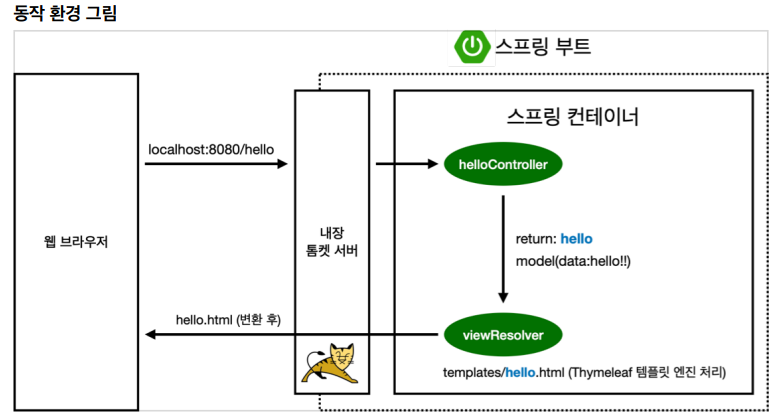
localhost:8080(웹 브라우저)에서 hello 던짐 → 스프링 컨테이너 (by 내장된 tomcat server)
→ model에 data: hello!! 라고 전달됨, return값으로 hello(문자)를 반환함
즉, helloController에서 반환한 값을 viewResolver가 viewName으로 받아옴 → templates 하위의 대응되는 html 페이지를 찾아 보여준다.
기본값: 템플릿엔진 기본 viewName 매핑
- 'resources:templates/ ' + ((매핑된 viewName값)) +'.html'
>>> 이 과정을 거쳐 templates 폴더 밑 hello.html이 열림
Spring-boot-devtools
- 해당 라이브러리를 추가하면, 여러 기능을 이용 가능하다
- Automatic Restart
- class를 수정/ html 파일을 수정하는 등 애플리케이션 재시작이 필요할 때, 자동으로 서버 restart 해 줌.
- 파일 수정 후 저장하면, classpath에 존재하는 파일 변경에 따라 변동 내용 update됨
빌드하고 실행하기
빌드해서, 실제 실행 가능한 파일 만들기
**해당 작업 전, 서버 멈춰야 오류 발생 막을 수 있음.
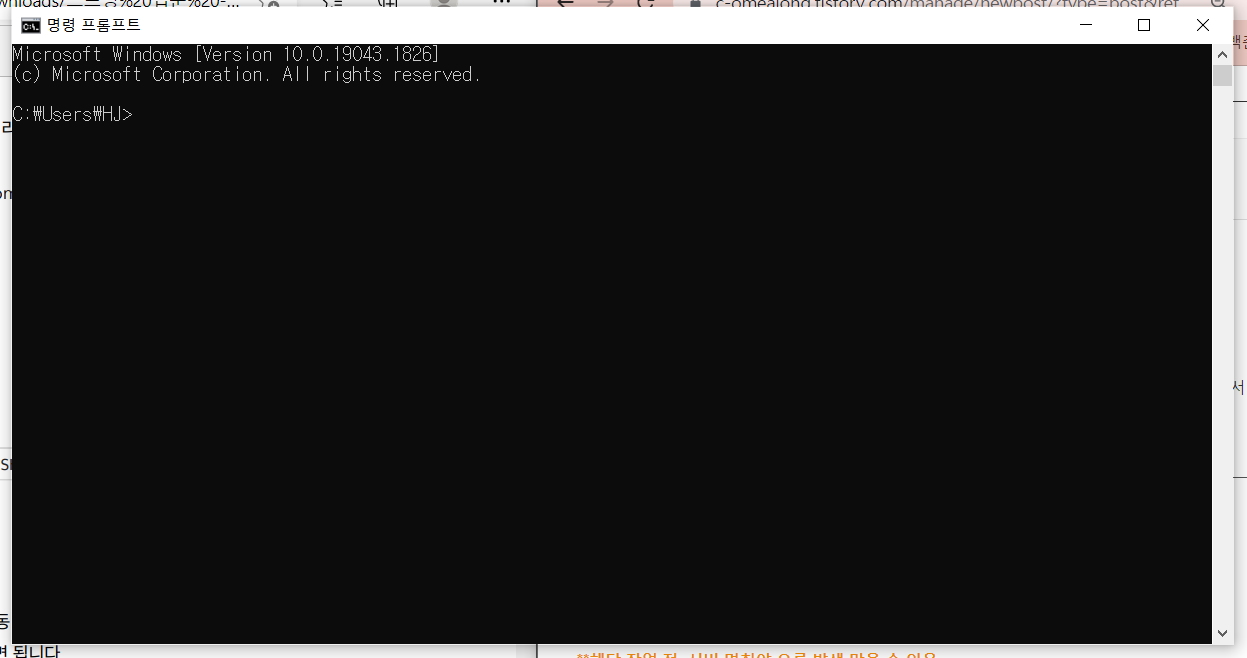
1. 명령 프롬프트창(cmd)을 킨다.
2. .gradle폴더를 찾고, 해당 경로를 복사한다.
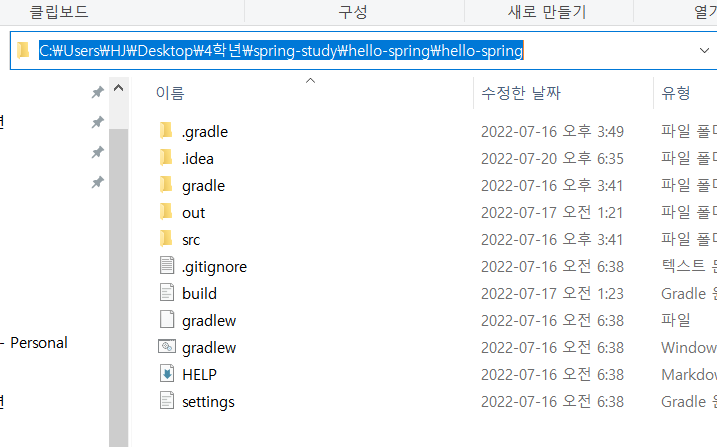
3. cd [복사한 경로] 를 입력한다.

4. gradlew를 입력 후 엔터

5. gradlew build 입력 후 엔터

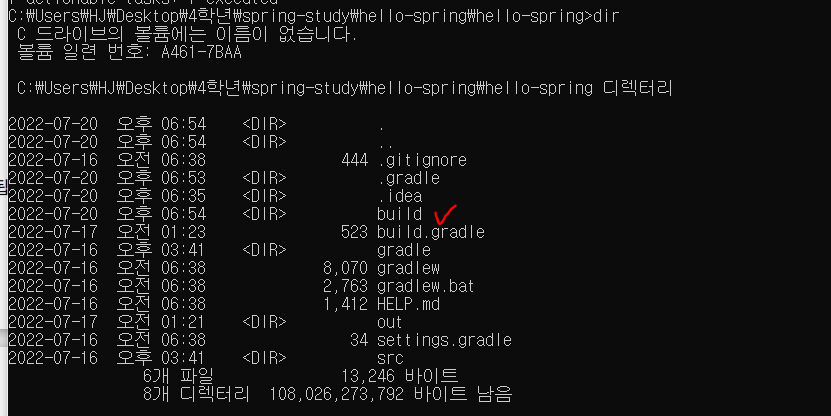
6. build 폴더 밑 libs 폴더로 들어가면, hello-spring jar파일이 생성 돼 있음


7. java -jar hello-spring-0.0.1-SNAPSHOT.jar ( jar파일 명) 입력 후 enter
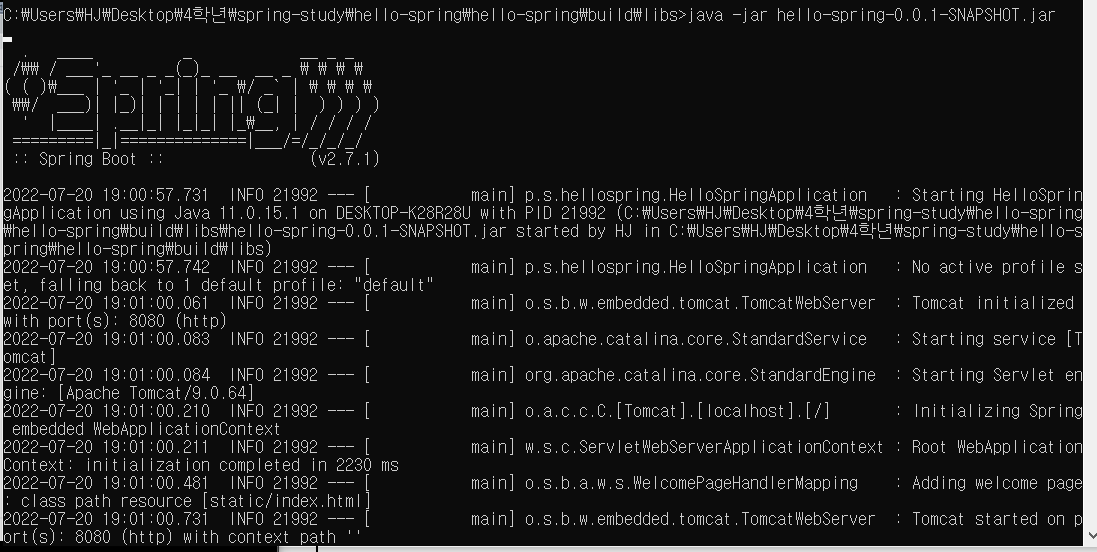
<결과>
따라서, 서버를 배포할 땐 , jar파일을 넣은 뒤 java -jar로 실행해주면 된다. (서버에서도 스프링 동작)